

How To Draw A Magical Forest
Of all the places that you tin find to explore, few are equally magical as a beautiful woods.
There are then many beautiful trees, plants, animals and sights to behold in a woods, and you lot tin get away from the cars and pollution of the city for a while.
Forests have captured many imaginations throughout the years, making many want to acquire how to depict a forest.
This is the right identify for you if you are one of those people!
This stride-by-pace guide on how to draw a forest in 6 steps will have yous creating your own magical wood in no time.
What's in this Web log Post
- How to Depict A Forest – Let's go Started!
- Step 1
- Stride ii – Add together some treetops and other details in this step
- Step 3 – At present, draw some layers of footing
- Stride 4 – Start adding some tree trunks in the background
- Step v – Now, you lot tin add some finishing touches and concluding details
- Footstep 6 – Stop off your forest drawing with some colour
- Your Forest Cartoon is Complete!
How to Draw A Forest – Let'south get Started!
Step 1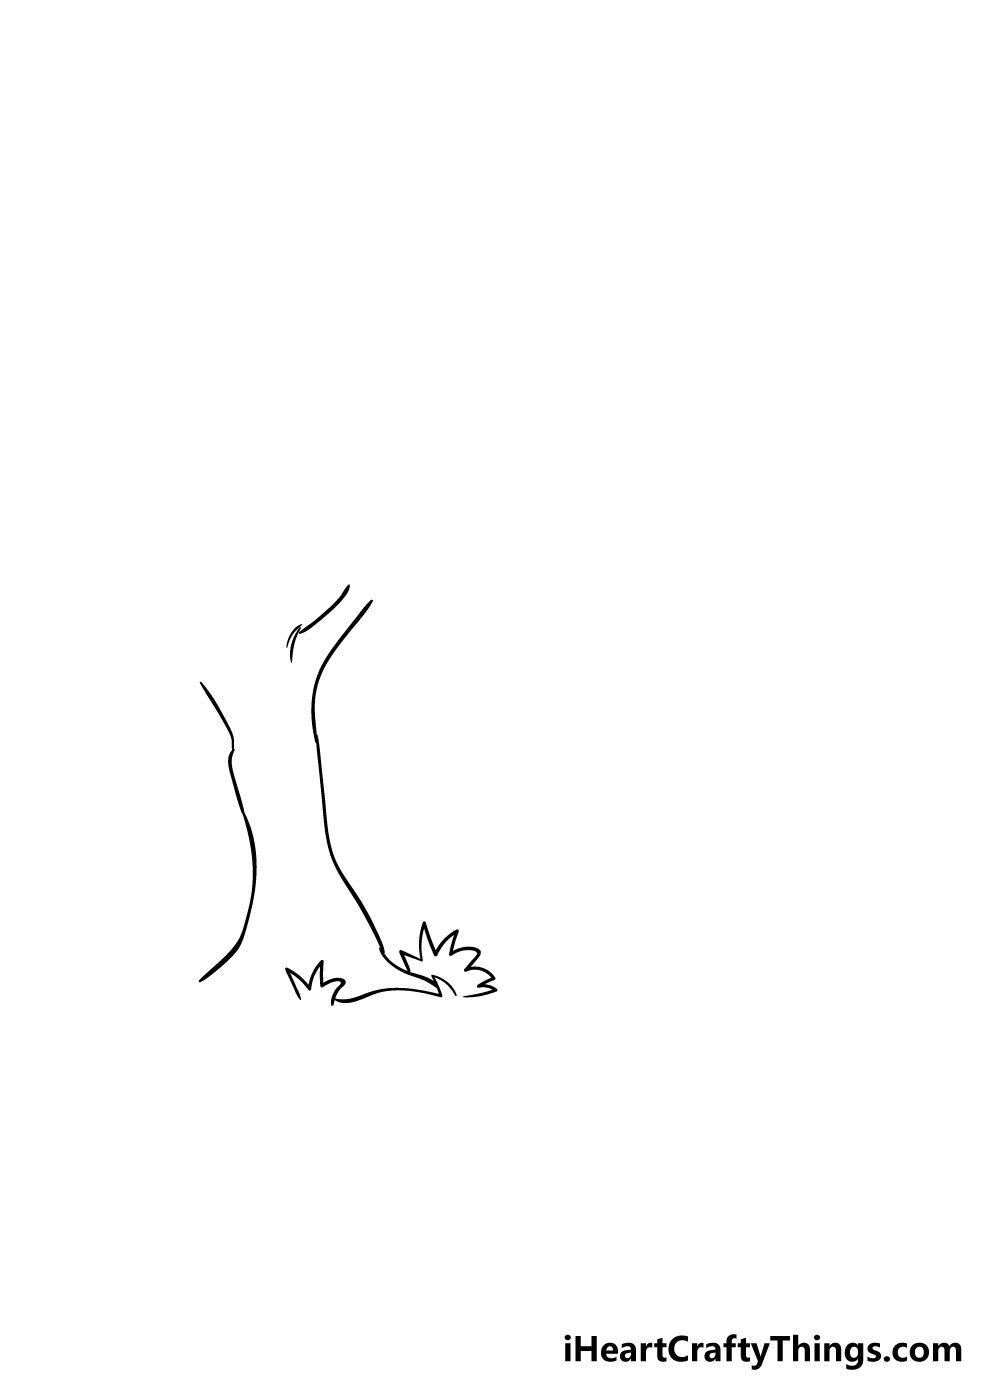
To begin our guide on how to describe a forest, we shall start with a tree in the foreground of the image.
To do this, yous can utilize a slightly curved line with a couple of jagged edges for the left-hand side of the tree with a similar line on the right.
Each side of the tree will extend outwards likewise. You can so add some more jagged lines for grass at the base of operations, and so draw a branch extending from the upper right of the tree.
Pace 2 – Add some treetops and other details in this step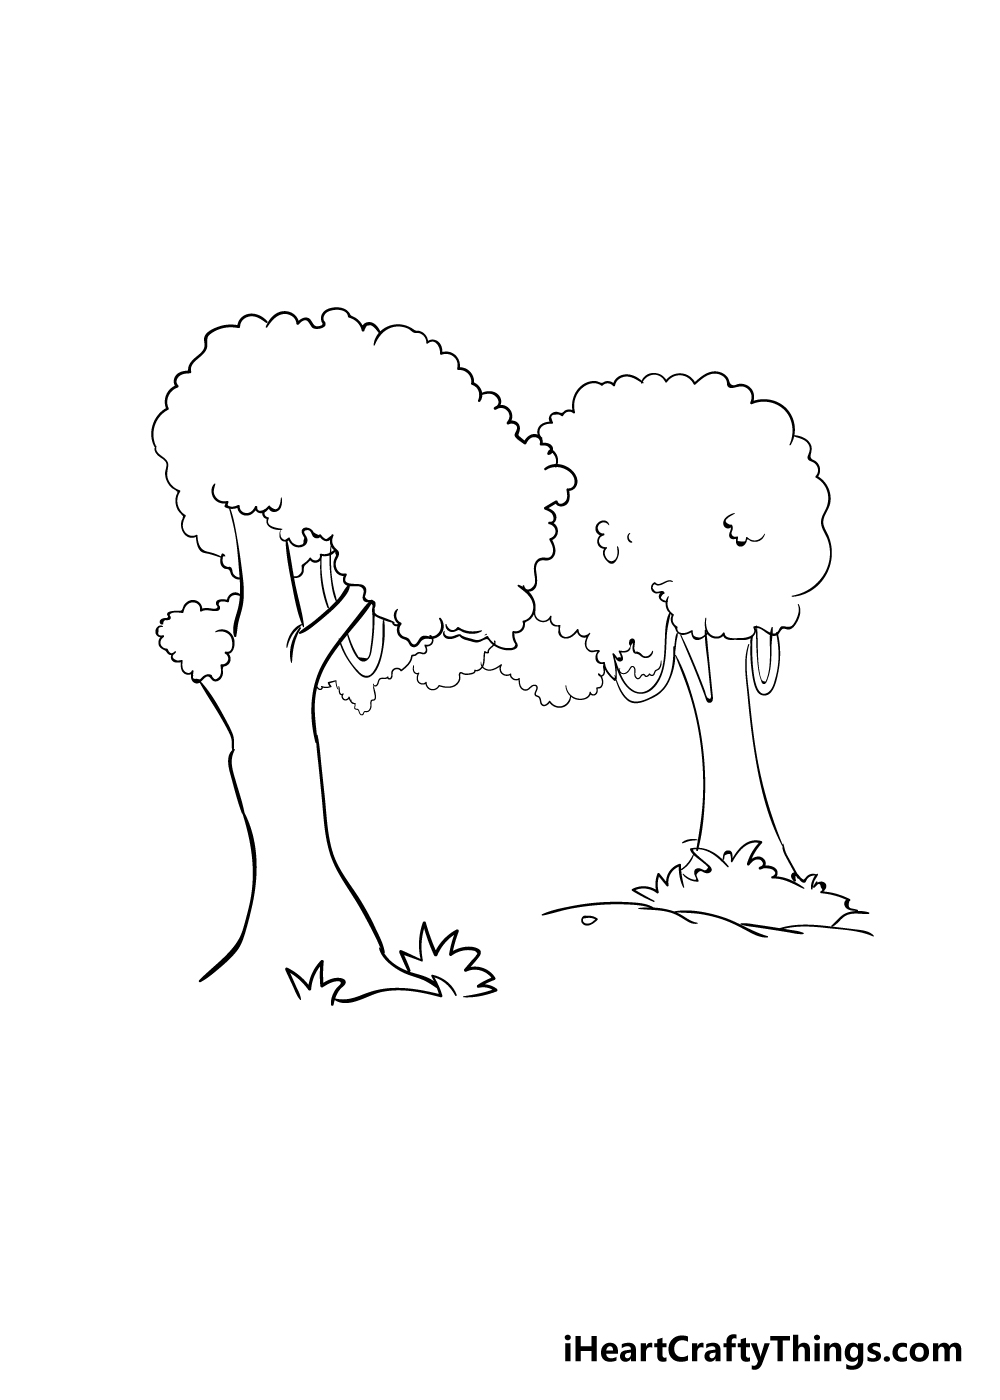
We will be calculation a lot in this step of your tree drawing, so exist sure to take it ho-hum and follow the reference image closely!
First, add a thick central branch coming up from the middle of the tree. You lot can then draw a big, rounded shape with a bumpy line to create the leafy treetop.
Some curved lines coming downwardly from the leaves will form some vines hanging downwardly. Then, a bit to the right, you can repeat what you did to create a 2d tree.
This 1 will be slightly smaller to show perspective, and also has a few pocket-sized differences.
It will also take a grassy base fabricated of jagged lines with a smoother ground space beneath that.
Finally, you tin add together some bumpy lines below the treetops that you drew to start showing some trees in the background.
It may all sound complicated, merely with the reference prototype to guide you it will exist easier than you recall!
Stride iii – Now, draw some layers of footing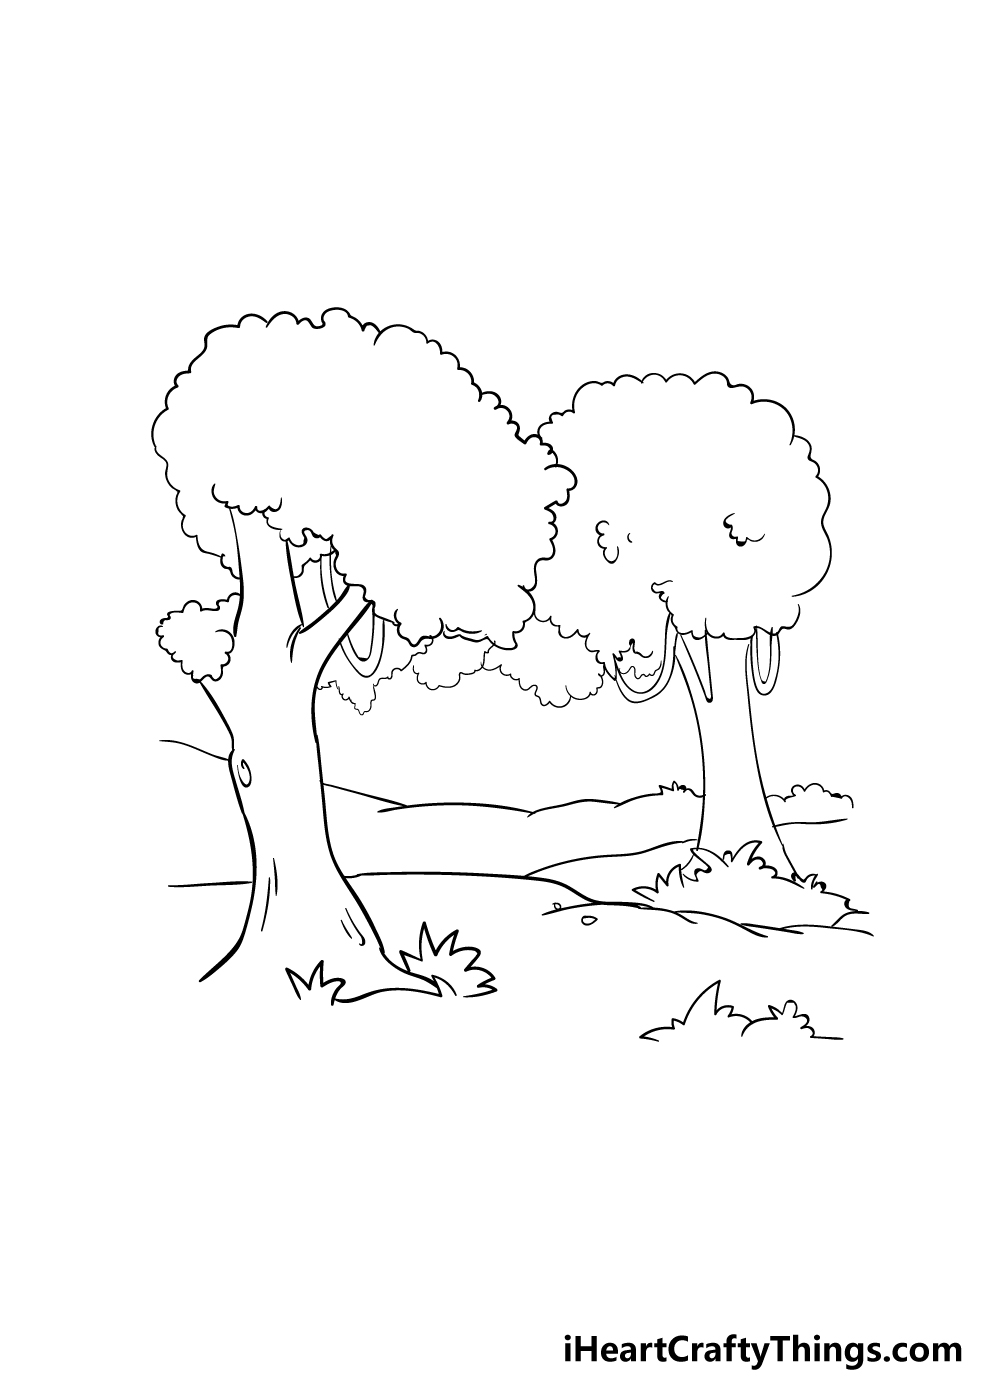
In this next step of this guide on how to draw a tree, you tin can focus on the basis of the forest for a scrap.
You can draw these elements using some slightly curved lines on various layers of the empty space between the trees.
This will create a slightly hilly advent for your forest. Some more jagged lines for some grassy areas will finish this stride off nicely!
Pace 4 – Beginning adding some tree trunks in the background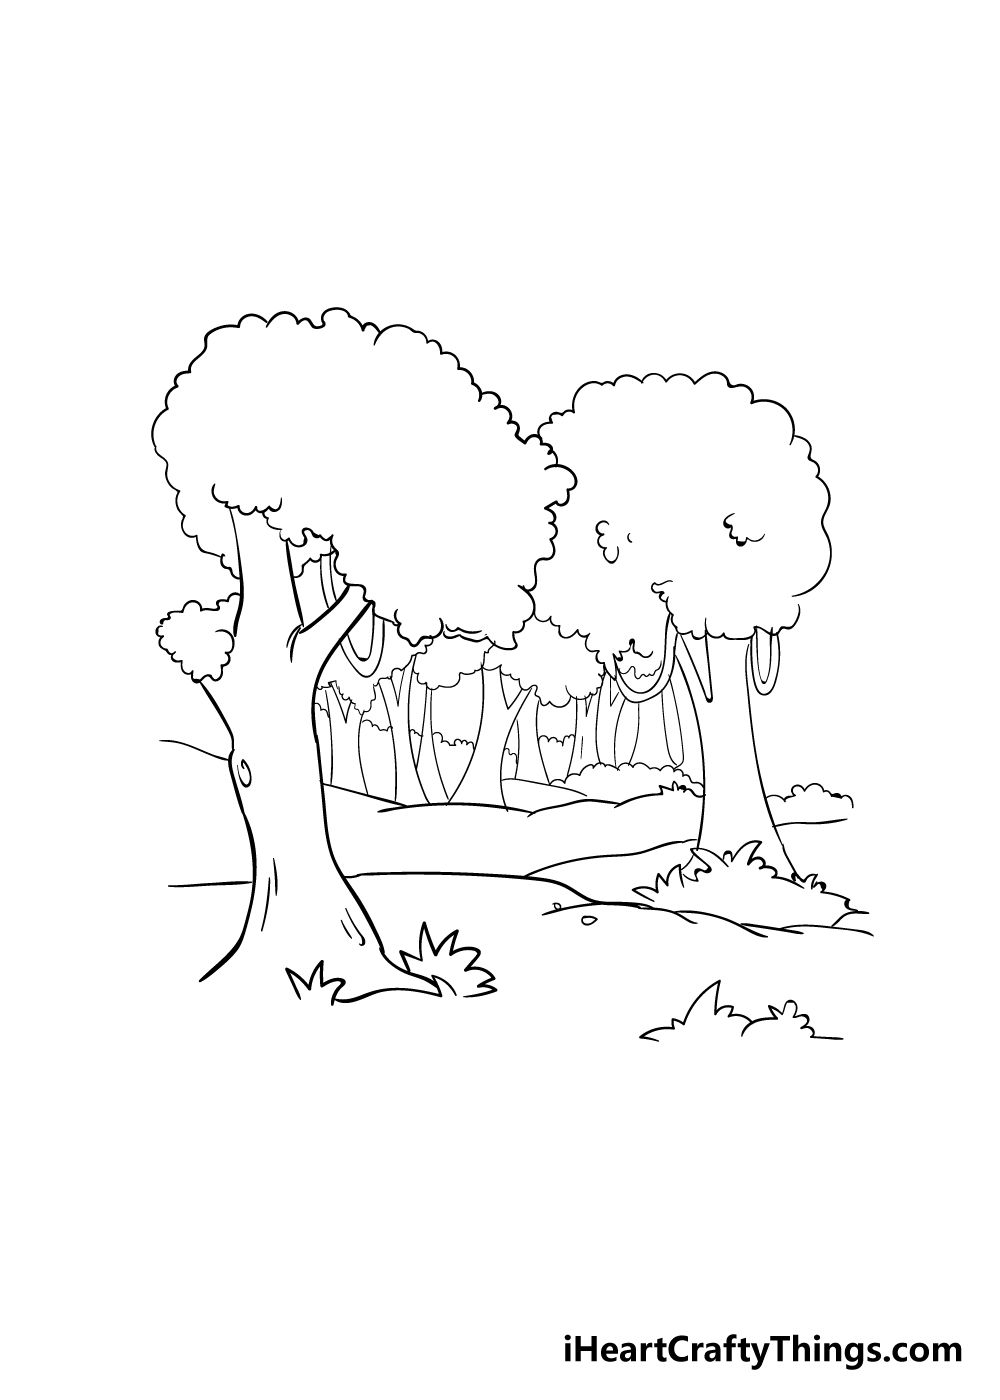
Your forest drawing needs a lot more trees in it to be a true woods, then permit's add some now! You tin can draw some tree trunks in the background betwixt the two main trees to do this.
They will wait similar to the trunks of the main two trees, but equally you lot may imagine they volition be much smaller equally they are farther away.
One time you lot have these extra trees drawn, we shall finish off the final details in the next step!
Stride five – Now, you lot can add together some finishing touches and concluding details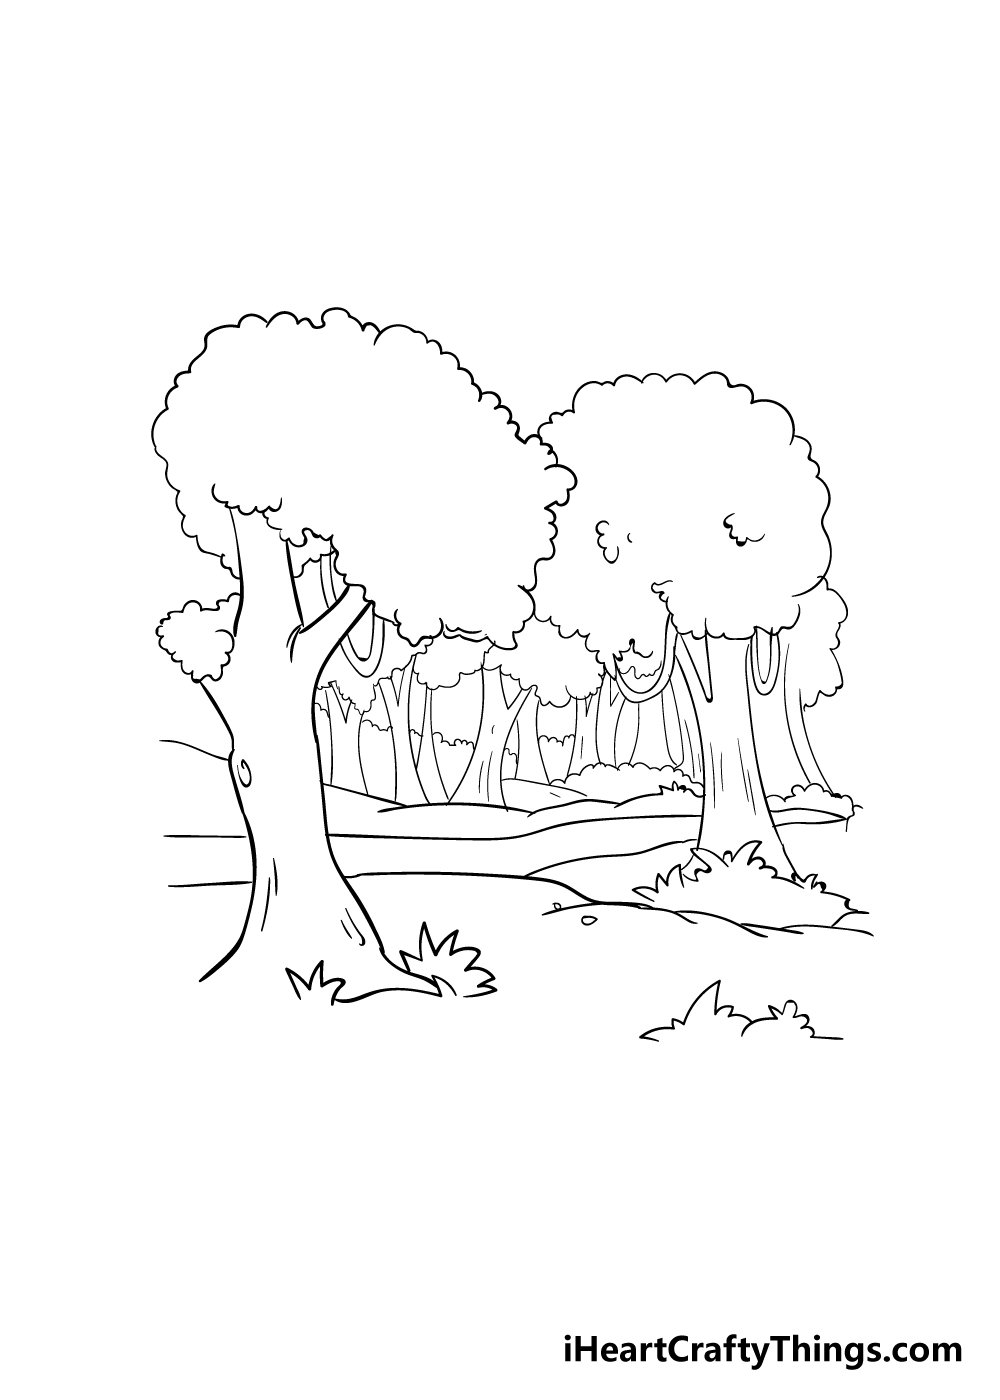
This woods of yours is already looking amazing! Before we movement on to the final stride of this guide on how to describe a forest, we shall start add together some terminal touches and details.
Every bit yous can run into in our reference image, y'all tin draw some thin lines onto the branches and likewise add a few more layers of ground.
With those details added, you accept technically finished the drawing! Earlier you motion on, exist sure to add any extra details that you would like.
Some wildlife would be a great way to bring some life to this forest.
Yous could draw some squirrels or raccoons or become bigger with some horses! Possibly this is a magical wood with a unicorn living in information technology?
You could also represent different seasons by drawing snow on the copse, by making the trees barer or past adding lots of beautiful flowers.
At that place are so many ways that you lot can put your own spin on this drawing, so be sure to show us what you can do!
Step 6 – Finish off your forest cartoon with some color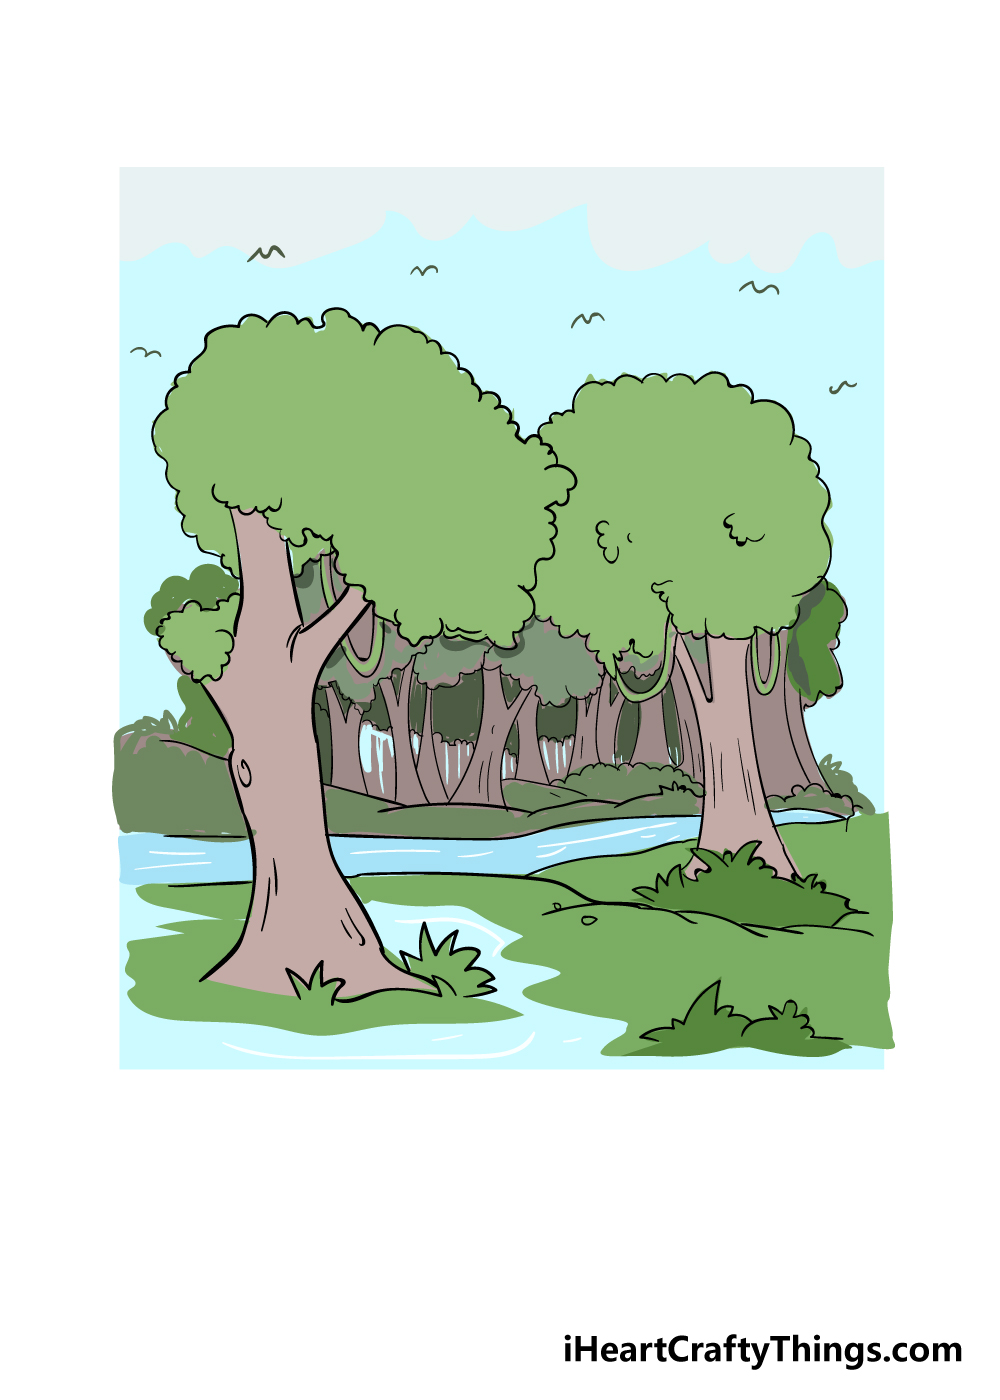
You lot have most finished your forest drawing at present, and so all that remains is to add some cute colors to it!
Forests can be beautiful, lush places with lots of wonderful animals and plants providing some colour.
You could also go for a different mood, though. By using darker colors with a majestic sky and white paint for mist, you could make this a spooky forest setting!
If y'all took our previous proposition of making seasonal variations, and then you could incorporate reds and yellows for the Fall or whites and dejection for Wintertime.
I think that watercolor paints would make for a lovely soft prototype here, but there are many other art mediums you could go for!
Whatever you go with will look amazing, then we can't wait to see what you come upward with!
Your Forest Drawing is Complete!
Nosotros actually hope that you had an amazing time working through this step-by-stride guide on how to draw a forest!
This was quite a detailed drawing, merely we promise that past having this guide to follow you discovered that it's easier than you idea to create a beautiful forest drawing.
At present that yous know how to draw a woods, it'south up to you to brand information technology your own!
Nosotros have suggested a few ideas y'all could use, from changing the seasons to making a spooky atmosphere or even with adding some mythical creatures!
There are tons of creative ways that y'all tin can personalize your drawing, then let your creativity run wild!
You've mastered this drawing, only the practiced news is the fun is not over! We have many more drawing guides like this ane on our website for yous to savor!
Be sure to visit united states there frequently, as nosotros upload new guides frequently.
We're very curious to see the creative means y'all completed your forest drawing! We hope that you lot will share your amazing artwork on our Facebook and Pinterest pages for usa to admire.

Source: https://iheartcraftythings.com/forest-drawing.html
Posted by: blayowle1987.blogspot.com
0 Response to "How To Draw A Magical Forest"
Post a Comment